Your Beginner's Gourmet Mushroom Guide
Your Homegrown Path to Fresh Food, Flavor, and Food Freedom
Mushrooms are more than ingredients. They are teachers, connectors, and tools for resilience. From the forest floor to your kitchen counter, mushrooms show us how to grow, share, and eat with intention.
This guide is packed with everything you need to know to get started with homegrown mushrooms, maximize their flavor and nutrition, and even expand outdoors to build ongoing harvests.

1. Why Mushrooms Matter
Most store-bought mushrooms are already a week or more old when you bring them home. Flavor fades, texture declines, and nutrients diminish. When you grow mushrooms at home, you control freshness, nutrition, and taste.
Homegrown mushrooms:
- Are harvested at their peak, ensuring maximum enzymes, antioxidants, and
- aroma compounds
- Taste rich and umami-forward because they are alive until cooked
- Contain nutrients like beta-glucans, ergothioneine, and B vitamins that degrade quickly in older mushrooms
Growing mushrooms is also about food sovereignty. Even a small home harvest reduces dependence on grocery supply chains, teaches skills to your family, and can extend to outdoor cultivation for months or years of continuous yield.

2. Cooking Mushrooms Like a Chef
Fresh mushrooms are transformative in the kitchen, but they need proper handling:
Sautéed Pink Oyster Mushrooms
- Start Dry: Heat your pan without oil. Mushrooms release moisture,
- concentrating flavor.
- Season Smart: Add salt, pepper, and spices like smoked paprika after the
- initial cook-down to build layered flavor.
- Sear for Texture: Once golden edges appear, add butter or oil. Let them sear
- undisturbed for the perfect crisp edge.
- Finish with Aromatics: Garlic, herbs, lemon juice, or red pepper flakes elevate
- the dish.
Serving Ideas
- On sourdough toast
- Tossed into pasta
- As a crunchy salad or grain bowl topper
- Simply as a gourmet side dish
Chef Tips for Any Mushroom
- Use a wide pan and high heat to avoid steaming
- Avoid overcrowding the pan
- Minimal stirring preserves crust and texture
- Salt and fat should be balanced
- Cut mushrooms to suit the dish: thick for mains, diced for risotto, whole caps for roasting
Quick Tip: Fresh mushrooms will brown faster, smell richer, and retain their texture better than any store-bought variety.

3. Weekly Harvest Cycles and the ShroomBag System
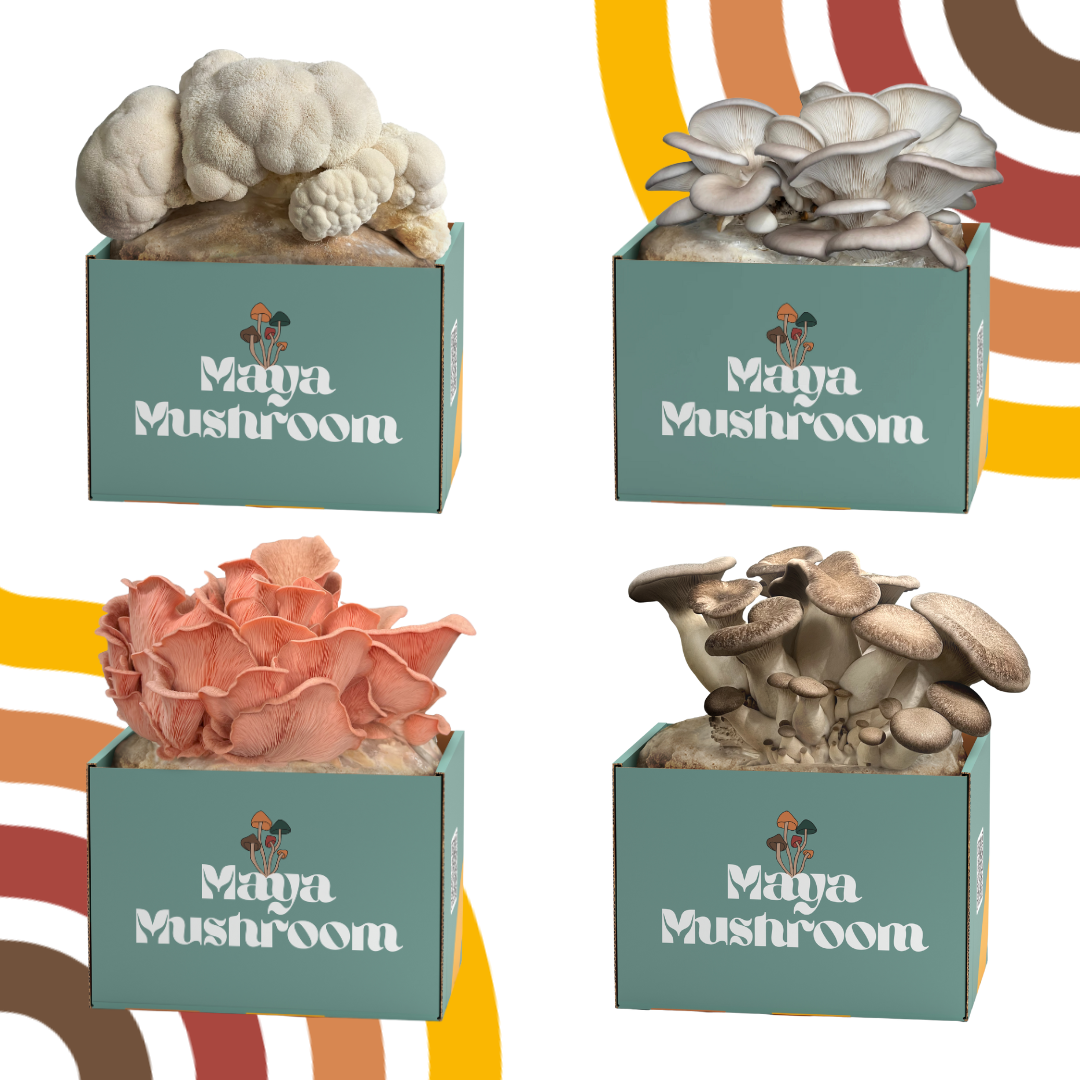
The ShroomBag 4-Pack is designed for rotating harvests, giving you fresh mushrooms every week. Each bag produces 1.5–2 lbs over 2–3 flushes. Stagger your bags for continuous supply and maximum freshness.
This system builds:
- Consistency: Weekly kitchen harvests
- Savings: More mushrooms for less money than retail
- Skill: Easy introduction to growing and managing a small food system
- Expansion Potential: Prepare for outdoor cultivation after indoor cycles finish

4. Expanding Outdoors for Long-Term Harvests
When your indoor yields slow, the fully colonized ShroomBag can seed outdoor beds, multiplying your harvest.
Methods:
Straw or Hay Bucket
- Pour boiling water over straw, let drain and cool
- Drill small holes in a bucket
- Layer broken-up ShroomBag substrate and straw in a bucket and put on the
- lid
- Place in a shaded, moist area and 2-3 weeks wait for mushrooms to appear
- Log Inoculation• Drill holes evenly across a log
- Fill with substrate (can use a log inoculating tool to pelletize substrate)
- Seal with beeswax and place in a shaded area
- Water periodically to maintain log moisture
Mulch Bed Expansion Method (1)
- Choose Your Spot: Find a shaded, moist area in your garden or yard. Ideal spots are under trees, along garden edges, or in existing mulch beds.
- Prepare the Bed: Loosen the soil slightly and add a 2–3 inch layer of straw, wood chips, or leaf mulch. This creates a hospitable environment for mycelium to spread.
- Inoculate: Break your fully colonized ShroomBag into chunks. Scatter the pieces evenly across the mulch bed.
- Cover and Moisturize: Add another 1–2 inch layer of mulch on top and lightly water to keep the bed damp but not soggy.
- Wait and Watch: Over the next few weeks, white mycelium threads will
- spread through the mulch. Mushrooms should start fruiting once the substrate is fully integrated and conditions are right.
Mulch Bed Expansion Method (2)
- Choose Your Spot: Find a shaded, moist area in your garden or yard. Ideal
- spots are under trees, along garden edges, or in existing mulch beds.
- Prepare the Bed: Loosen the soil slightly and add a 2–3 inch layer of straw,
- wood chips, or leaf mulch. This creates a hospitable environment for mycelium
- to spread.
- Inoculate: Break your fully colonized ShroomBag into chunks. Scatter the
- pieces evenly across the mulch bed.
- Cover and Moisturize: Add another 1–2 inch layer of mulch on top and lightly water to keep the bed damp but not soggy.
- Wait and Watch: Over the next few weeks, white mycelium threads will spread through the mulch. Mushrooms should start fruiting once the substrate is fully integrated and conditions are right.
Benefits of Outdoor Expansion
- Bigger yields, exceeding indoor harvests
- Low maintenance with natural shade and humidity
- Potential for future crops in the following year
- Minimal additional cost or effort

5. Freshness and the Science of Mushrooms
A mushroom continues living after harvest. Oxygen enters, moisture leaves, and enzymes break down cell walls. These chemical changes affect flavor, texture, and nutrient density within days.
Home-grown mushrooms:
- Retain full enzymatic and aromatic activity
- Deliver optimal beta-glucans, antioxidants, and B vitamins
- Taste vibrant, fresh, and alive
Try cooking one immediately after harvest and one week(s) old from the store to see the difference in browning, aroma, and texture. Compare that to supply-chain mushrooms you’re used to.

6. Mycelium: Nature’s Network
Beneath our feet runs a living network older than human history: mycelium.
- Connects plant roots, moves nutrients, and signals
- Demonstrates efficiency, adaptability, and cooperation
- Expands in fractal patterns that mirror galaxies, rivers, neurons, and even our own social networks
- Every ShroomBag brings this living logic into your home. Watching white threads spread through the substrate is a glimpse of a living system solving itself, teaching efficiency, resilience, and interconnection.
Lesson: Mycelium is regenerative. It doesn’t just sustain life. It creates more life. You can mirror this in your kitchen, garden, and community.

7. Family, Food, and Connection
Growing mushrooms at home is about more than nutrition. It is about ritual, memory, and learning.
- Assign small tasks to children like washing vegetables or tearing
- mushrooms
- Talk about food origin: garden, market, forest
- Build traditions: cook together on Fridays, make Sunday breakfast a family occasion to look forward to
Hands-on growing fosters:
- Pride in contribution
- Connection to the food system
- Appreciation for fresh, living food

8. Your $27 Investment in Food Freedom
- Indoor harvest: 1.5–2 lbs per bag
- Outdoor potential: Multiple extra pounds per bag
- Savings: Beats grocery store prices on premium mushrooms
- Skills: Self-reliance, kitchen confidence, family learning.
- One kit can turn into years of fresh mushrooms, teach lifelong lessons, and build a foundation for ongoing outdoor harvests.
9. Bringing It All Together
Mushrooms teach patience, observation, and connection. They are:
- Food: Delicious, nutritious, and fresh
- Science: Living chemistry and fractal networks
- Tradition: Family meals, shared memories, and hands-on learning
- Self-Reliance: Skills, savings, and food sovereignty
The ShroomBag is your gateway. Start small, learn fast, harvest often, and expand outdoors to create a living, growing system that supports your kitchen, your family, and your values.
Next Steps:
- 1. 2. 3. 4. Start your indoor ShroomBag harvest
- Build a weekly rotation for continuous fresh mushrooms
- Expand outdoors when ready for long-term yield
- Share, teach, and enjoy the process of growing your own food
Mushrooms are not just food. They are life, learning, and abundance